Getting started

Prerequisites
The following page assumes you have a basic understanding of what Hermes-Studio does. You may want to read more on the subject, but here are the basics.
- You need a device (computer, raspberryPi, phone) able to run Hermes-Studio, referred as "the backend"
During the Introduction chapter, we will take the example of an Ubuntu (64bits) computer with an Arduino Mega board connected by a USB cable. For the purpose of demonstration, we will consider using the embedded red LED that this board have, as well as a simple servo (reference KY66 but it does not matter) connected in the most trivial way. Having these is not necessary to use Hermes-Studio nor to understand the chapter.
Installation
TIP
You can find pre-built releases for Windows, Linux, macOS and raspberryPiOS here. If you'd like to compile from source, you can follow the compilation guide.
The easiest way to get started with Hermes-Studio is by:
- Navigate to the latest Hermes-Studio release available.
- Download the asset archive that corresponds to your backend machine.
- Decompress the archive to the location where you want Hermes-Studio to be installed on the backend device.
EXAMPLE
In this example, we will download hermes-studio--linux-x86_64.tar.gz archive for our Ubuntu computer and decompress it to the desktop, in a folder named hermes-studio :
cd /home/dclause/Desktop
wget https://github.com/dclause/hermes-studio/releases/download/nightly/hermes-studio--linux-x86_64.tar.gz
tar -zxvf hermes-studio--linux-x86_64.tar.gz && mv hermes-studio--linux-x86_64 hermes-studio
File Structure
Once downloaded and uncompressed, you should get an executable named hermes-studio as well as a folder called website. Overall the project structure is the following:
hermes-studio[.exe]: A CLI (command-line) executable compatible with your backend machine.website: a folder containing the web-client (DO NOT EDIT OR MODIFY).database(auto-created): a folder containing the JSON data of everything your will configure using the web interface. It will be auto-created when you will use the application for the first time.logs(auto-created): a folder containing all logs - provided you enabled those.config.json(optional): a manually created file where your can set advanced default configurations. Learn more in the Advanced Configuration page.
Up and Running
Navigate to the directory where you uncompressed the Hermes-Studio folder and run the hermes-studio[.exe] executable from command-line. 
- Open your favorite browser and navigate to the address given to you:
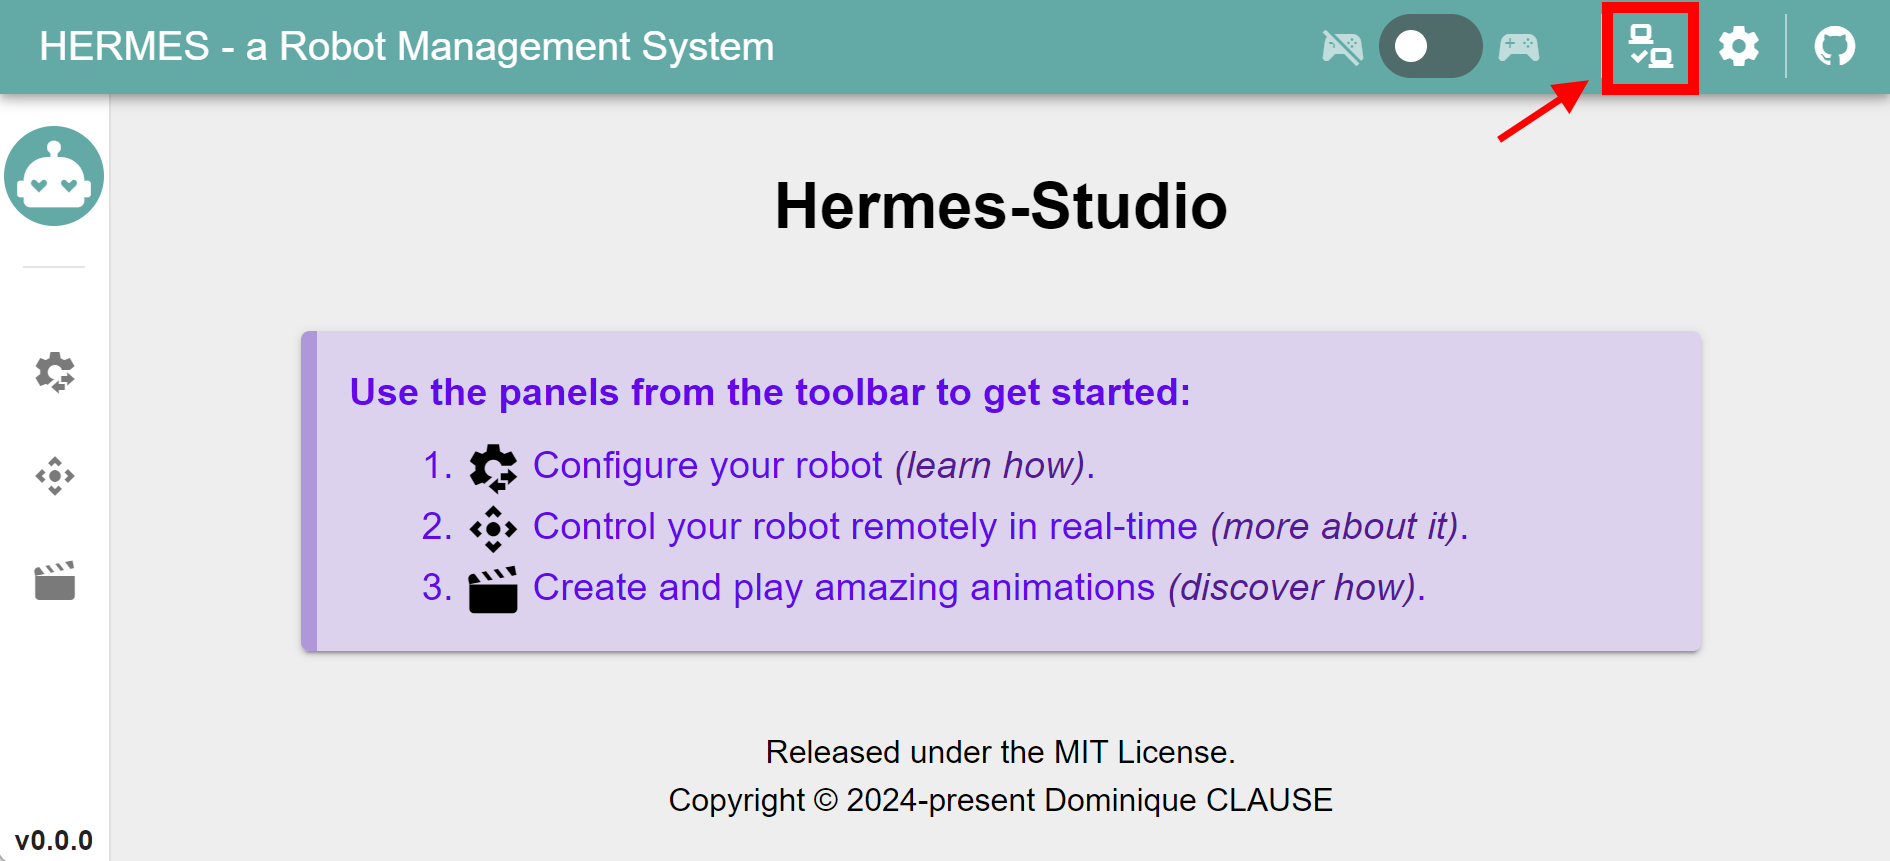
http://localhost:4000by default. - Make sure the website appears, and the "server is connected" indicator is checked.

What's next?
The getting-started page is now complete.
If you experience problems so far, read the following Troubleshooting paragraph.
Otherwise, it's time to start with our User Guide.
Troubleshooting
Hermes-Studio does not start ? Here are some things you can try.
If you can't find a solution to your problem on this section, consider opening an issue for help.
Console errors
Error: bash: ./hermes-studio: Permission denied"
After download and decompression, the executable might not have the appropriate permission.
- Make it an executable file.
- Remove "read-only" setting on Windows
- Add executable permission on Unix-like OS:
chmod +x hermes-studio
Error: Permission denied (os error 13), "./database"
Hermes-Studio had no permission to create the database folder:
- Remove "read-only" setting on Windows
- Add write permission to the containing folder on Unix-like OS:
chmod +w hermes-studio